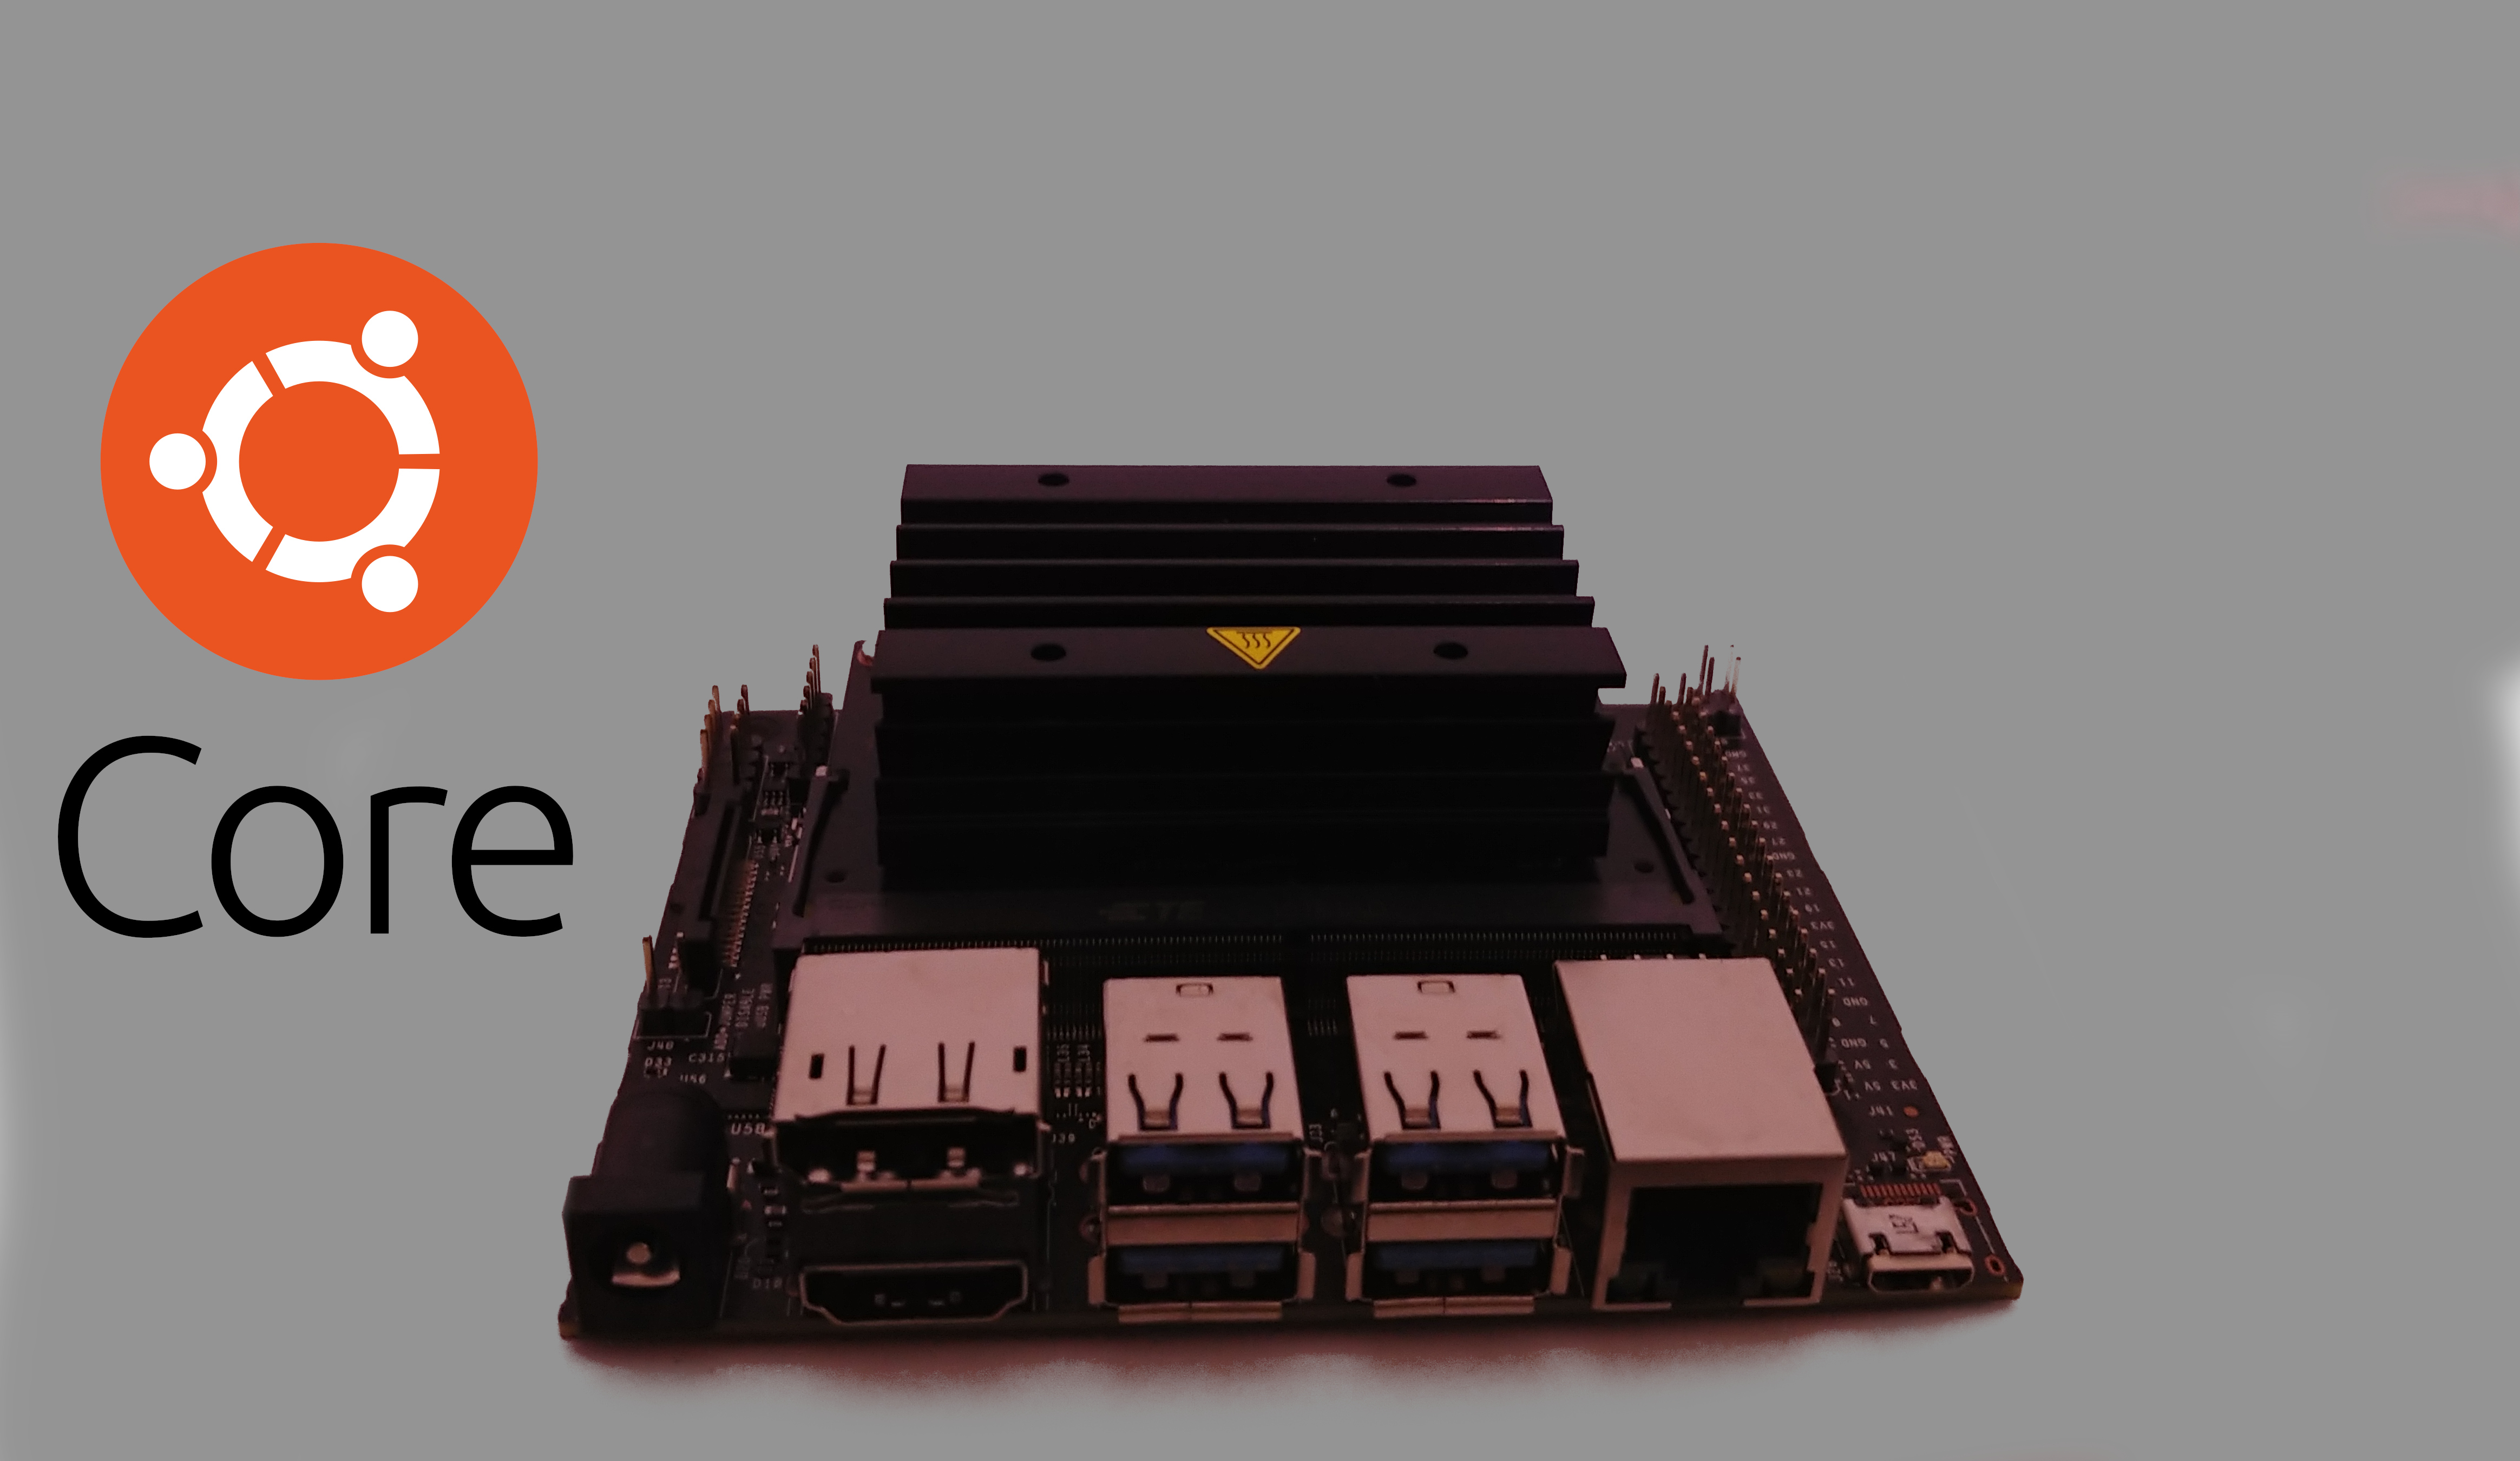
Running Ubuntu Core on Intel NUC
Running Ubuntu Core on Intel NUC
Ubuntu Core is officially supported on the Intel Nuc, which makes the process fairly painless.
Getting Ubuntu Core running on your Intel NUC will be very similar to the process for the raspberry pi 3. First you will flash the Ubuntu Core image to the device, then you boot the device and run through some first time configuration. The Nuc is just slightly tricky because it does not boot from an SD card which makes it a bit hard to flash. Also it’s strongly recommended that you update the NUC with the latest BIOS, which adds an extra step at the beginning. With that said let’s get started!
Step 0: Some setup
- Make sure you have the follow:
- A supported Intel NUC (see supported models below)
- Internet connection to download ~1GB
- Monitor with HDMI
- HDMI Cable
- USB Keyboard and mouse
- 2 USB Flash Drives
- Local network (wifi or ethernet) connection with access to the internet. The NUC and your laptop will need to both be connected on this network at the same time.
- Check your NUC is a supported model:
- NUC7i7DNHE, NUC7i7DNKE, NUC7i7DNBE, NUC7i5DNHE, NUC7i5DNKE, NUC7i5DNBE, NUC7i3DNHE, NUC7i3DNKE, NUC7i3DNBE, NUC7PJYH, NUC7CJYH
- Ensure your NUC has a hard drive and RAM install. Most NUCs are not sold with storage and it must be purchased separately. Installing a hard drive and RAM is pretty easy but out of scope for this tutorial.
- Download the Ubuntu Core Image for NUC
- Download a Ubuntu Desktop live CD to boot the NUC from a USB flash drive.
- Download Etcher (81MB)
- If you don’t already have an Ubuntu One account with ssh keys configured, follow directions here to set it up.
Step 1: Update the NUC BIOS
It’s strongly recommended you update the bios of the NUC before installing Ubuntu Core. The process is pretty painless.
- First search for your NUC model at Intel Download Center (“NUC7CJYH” for example).
- Find the result titled “BIOS Update”.
- Find the download for the UEFI update.
- Unzip the contents and save it to a usb key.
- Next, plug in the usb key, usb keyboard, mouse, hdmi monitor and power supply to the NUC.
- Power the NUC on and press F2 while it’s powering up. This will take you to the “Visual Bios”.
- Click on the “Advanced Options” and then “Update BIOS”.
- In the file dialog, find the .bios file you copied to the key, and click open.
- Confirm you want to apply the update. The update can take several minutes, so make sure you left it finish.
After any BIOS update, Intel recommends the following steps:
- Press F2 during start to enter BIOS Setup.
- Press F9 to set BIOS default values.
- Customize any BIOS settings, if desired (optional).
- Press F10 to save and exit BIOS Setup.
Step 2: Flash the the Ubuntu Core Image
- Open zip file of Etcher that you downloaded in Step 0.
- Extract the file to your desktop (or anywhere that’s easy to find). It should be named something like “balenaEtcher-1.5.59-x64.AppImage”.
- Insert the first USB key drive into your laptop.
- Now navigate to the Etcher file you extract and open it. The Etcher UI will appear.
- Click “Select Image” and find the Ubuntu Desktop Live CD image that you downed in step 0.
- Etcher should automatically select USB key drive you inserted. Verify it chose the correct one.
- Click “Flash!”
- You’ll be prompted to insert your password.
- It will take a couple minutes to flash your sd. When it’s finished close Etcher and eject your USB key drive.
- Then insert your second usb key can copy the Ubuntu Core image to the USB. (You should not flash the usb key, you should copy the actual file to the key).
Step 3: Boot from the Live USB flash drive
- Connect the USB hub, keyboard, mouse and the monitor to the NUC.
- Insert the Live USB Ubuntu Desktop flash drive in the NUC.
- Start the NUC and push F10 to enter the boot menu.
- Select the USB flash drive as a boot option.
- Select “Try Ubuntu without installing”.
Step 4: Flash Ubuntu Core
-
Once the Ubuntu session has started, insert the second USB flash drive containing the Ubuntu Core image file.
-
Open a terminal and use the following command to find the NUC’s internal hard drive (where you’ll install the Ubuntu Core image):
sudo fdisk -l -
Run the following command, where <disk label> where is the label of the second USB flash drive and <target disk device> is the label of the NUC’s internal hard drive:
xzcat /media/ubuntu/<disk label>/dawson-uc18-m7-20190122-10.img.xz | sudo dd of=/dev/<target disk device> bs=32M status=progress; sync -
Reboot the system and remove the flash drives when prompted. It will then boot from the internal memory where Ubuntu Core has been flashed.
Step 5: First boot setup
- The system will boot then become ready to configure.
- The device will display the prompt “Press enter to configure”.
- Press enter then select “Start” to begin configuring your network and an administrator account. Follow the instructions on the screen, you will be asked to configure your network and enter your Ubuntu SSO credentials.
- At the end of the process, you will see your credentials to access your Ubuntu Core machine:
    This device is registered to <Ubuntu SSO email address>.
    Remote access was enabled via authentication with the SSO user <Ubuntu SSO user name>
    Public SSH keys were added to the device for remote access.
Step 6: Login
Once setup is done, you can login with SSH into Ubuntu Core, from a machine on the same network, using the following command:
ssh <Ubuntu SSO user name>@<device IP address>
Your user name is your Ubuntu SSO user name, it has been reminded to you at the end of the account configuration step.
Much of this tutorial was adapted from https://ubuntu.com/download/intel-nuc
Latest Posts
Building an Appliance Images
12 Dec 2020
A First Look at Ubuntu Appliance Portfolio
18 Oct 2020